( Image, Label and Button )
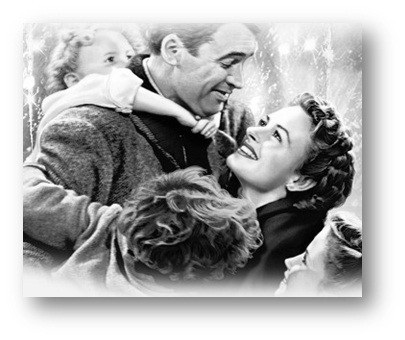
We are continuing with Viva_HMG.hbp, Main.prg and Main.fmg. First, let’s enlarge our form: width: 650, height: 550; and then place an image: First click “image” button the toolbar of HMG-IDE, and then click anywhere in the form. This clicked point in the form, will be left upper corner of control; in this case : image. IDE always first places controls with its default values. Our image is 405 x 340 pixel size:
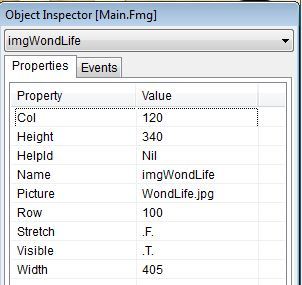
We need assign a size to image control so it can hold properly our image. We can manually set these values and assign name of image file:
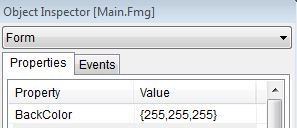
Background color of our form didn’t well-matched with this image. Let’s change it to white:
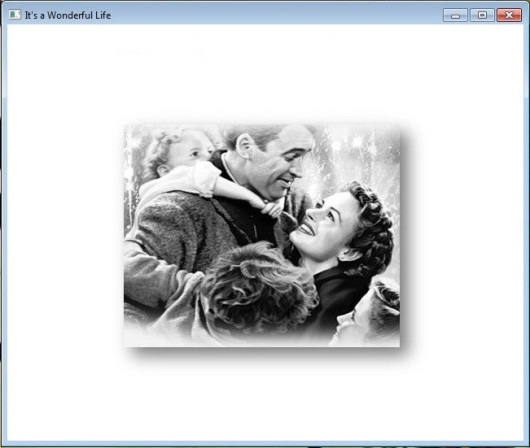
In this step, if we run the program we will see like this :
The STRETCH option of IMAGE control allows assigning size values to the control other than original image sizes. In this case quality of image may decrease. We need also avoiding distortion too; that is keeping fixed aspect ratio of image.
By assigning same width / height values of form and image; we can use an image as back-ground image of form. But in this case we can’t place other control onto image: because controls must not be overlap to each other. Under certain circumstances system not obstructs this. But the beneath control can’t seen.
The LABEL control is an exception of this rule by TRANSPARENT option. If a label is transparent, the beneath control may be seen partially.
Let’s add a label to our form:

The big “A” symbol in the toolbar of IDE represent LABEL. First click this button and then top of our form:

The placeholder of LABEL is primitive situation for now. We have added a new and adjusted both to our needs:

If we built and run our project after set these values, appearance will be like this:
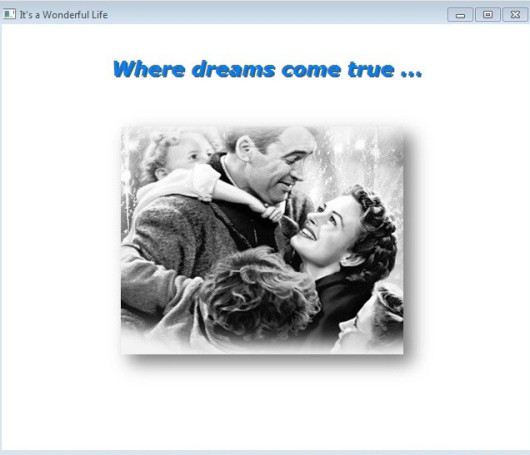
Since two controls (labels) have been overlapped, constructing this “shadow” effect will be a few painful. You can edit .fmg file out of HMG, via any text editor when necessary.
Labels probably are most used controls in GUI programming. This control simply displays any text onto form. For xBase programmers we can say this is GUI counterpart of @ …,… SAY command. As all other GUI controls, we use coordinate system to indicate placement of control. In addition we can set size ( width, height ), back and fore color values, font properties and others as well as we need.
Labels also have ALIGNEMENT property with LEFT, RIGHT and CENTER option. In this sample used LEFT.
In addition, LABEL control supports ACTION event too. This means you can instruct a LABEL control to do an action when user clicked it; same as BUTTON.
Last control to use in this sample is button.
Beside menus, buttons are handy controls for doing an action when user clicked. Let’s see how :
The button for BUTTON in the IDE Tool Bar is this:

As precedents, one click to this button and another one to form, under image:

And two more :

Now we can tailor these buttons to our needs:
First let’s change names and captions given by IDE:
btnOpenFile, btnEditRec and btnExit to names and Open File, Edit Record and Exit to captions, consecutively:

It’s time to assign ACTIONs to this buttons.
MsgInfo( “Open File”) to ACTION of btnOpenFile
MsgInfo( “Edit Record”) to ACTION of , btnEditRec,
ThisWindow.Release to ACTION of btnExit.
And, RUN of course …
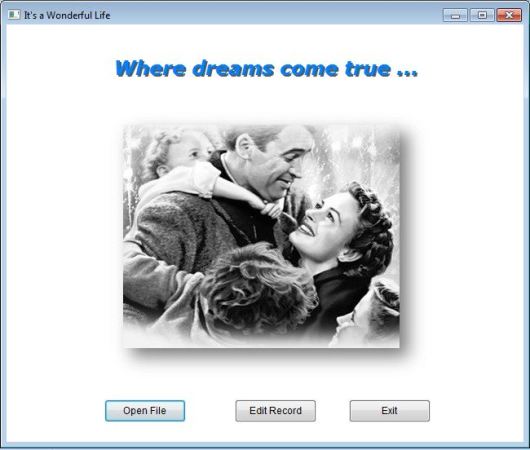
Test ACTIONs of buttons by clicking: first two will repeat the sentences in their captions via MsgInfo() function and the last will terminate program. Yes, we are using RELEASE method to the main window for terminate running program, instead of QUIT or CANCEL commands.
That’s all for now !
Downloads source files


